Follow Me On Social Media!
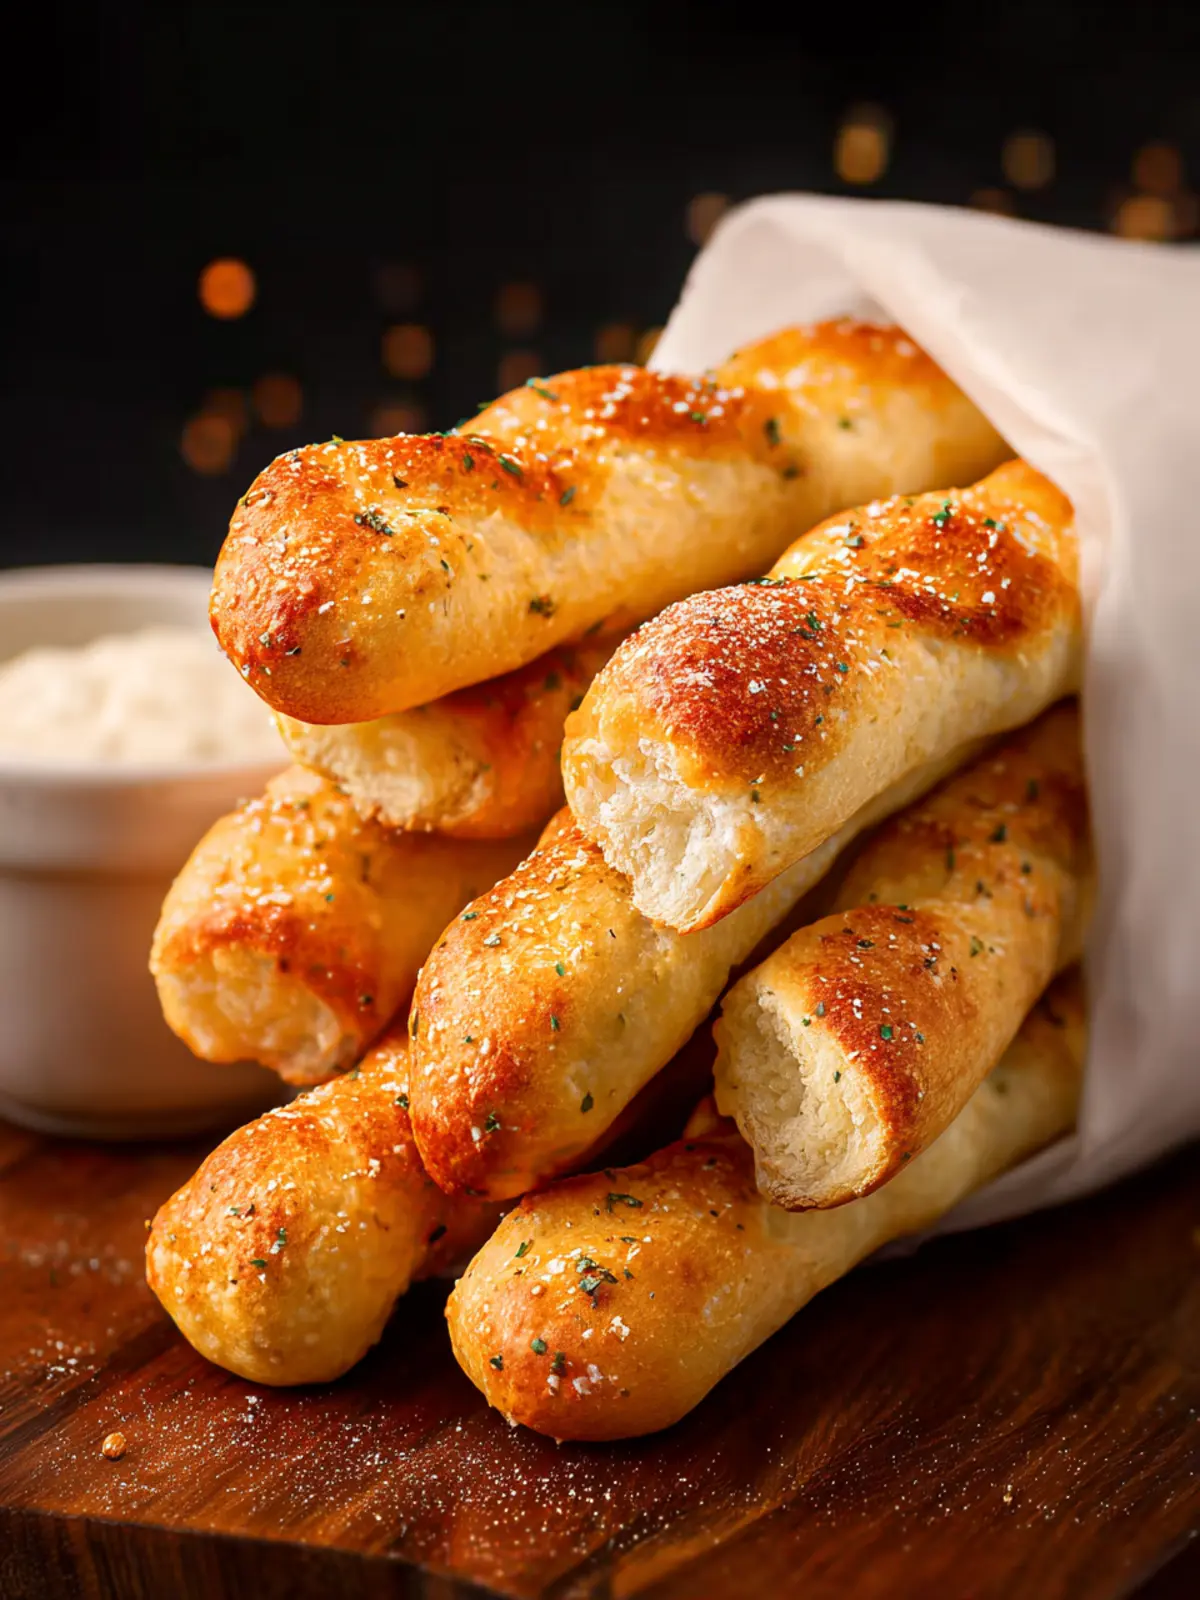
Homemade Breadsticks: Irresistibly Soft and Deliciously Easy
Introduction to Homemade Breadsticks
There’s something truly magical about homemade breadsticks that can transport you back to comforting family dinners or cozy nights in. Picture a warm, inviting kitchen filled with the enticing aroma of freshly baked dough mingling with garlic and herbs. It’s not just about the taste; it’s about the experience and the memories created around the table. Baking your own breadsticks is a rewarding endeavor that allows you to connect with the ingredients and the process, making the end result all the more satisfying.
One might wonder, why go through the trouble of making homemade breadsticks when you can easily buy them at the store? The answer lies in the personal touch. When you choose to knead the dough and shape each stick by hand, you’re not only ensuring a fresh product without preservatives, but you’re also releasing your creativity and infusing love into each batch. You can customize the flavors by choosing different herbs, seasoning them to your liking, and even experimenting with different types of toppings.
Moreover, nothing beats the feeling of pulling warm breadsticks out of the oven and serving them straight to your guests or family. The satisfaction of seeing their faces light up when they taste your creation is unmatched. Homemade breadsticks are perfect for a quick snack, a side dish at dinner, or even a delectable appetizer. They can elevate any meal, adding that special touch of homemade goodness.
What Makes Homemade Breadsticks So Special?
Crafting homemade breadsticks allows you to tailor every aspect to your preferences. From the ingredients to the texture, the possibilities are endless.
- Quality Control: You decide what goes into your dough, ensuring fresh, high-quality ingredients.
- Flavor Freedom: Don’t just stick to garlic; try incorporating parmesan, rosemary, or even sun-dried tomatoes for a twist.
- Texture Preference: Want them soft and chewy or crispy and golden? The choice is yours!
In essence, making your own homemade breadsticks is not just a culinary task; it’s an opportunity to create a moment, share warmth, and enjoy the process. So tie on your apron, and let’s get started!
Key Ingredients for Homemade Breadsticks
Creating the perfect batch of homemade breadsticks doesn’t have to be complicated; in fact, it’s all about simple, quality ingredients that come together beautifully. Each component plays a vital role in delivering that soft, chewy texture we all crave.
Flour: I use all-purpose flour as the base for my breadsticks. It provides the right structure, allowing them to rise and get that lovely chewy consistency. You can experiment with bread flour for an even heartier texture if you’d like!
Yeast: Active dry yeast is essential for that delightful rise. Make sure to proof it with warm water and a bit of sugar first to ensure it’s alive and well; this step makes all the difference in the final product.
Warm Water: Using warm water helps activate the yeast faster. It should be comfortably warm to the touch—think bath water rather than boiling.
Olive Oil: A splash of olive oil not only adds flavor but also contributes to a wonderfully tender breadstick. It helps lock in moisture, ensuring they stay soft even after baking.
Salt: Salt enhances the flavor of your homemade breadsticks. I typically use kosher salt, as it dissolves well and evenly distributes its flavor.
With these key ingredients in hand, you’re well on your way to enjoying delicious homemade breadsticks that everyone will love!
Why You’ll Love These Homemade Breadsticks
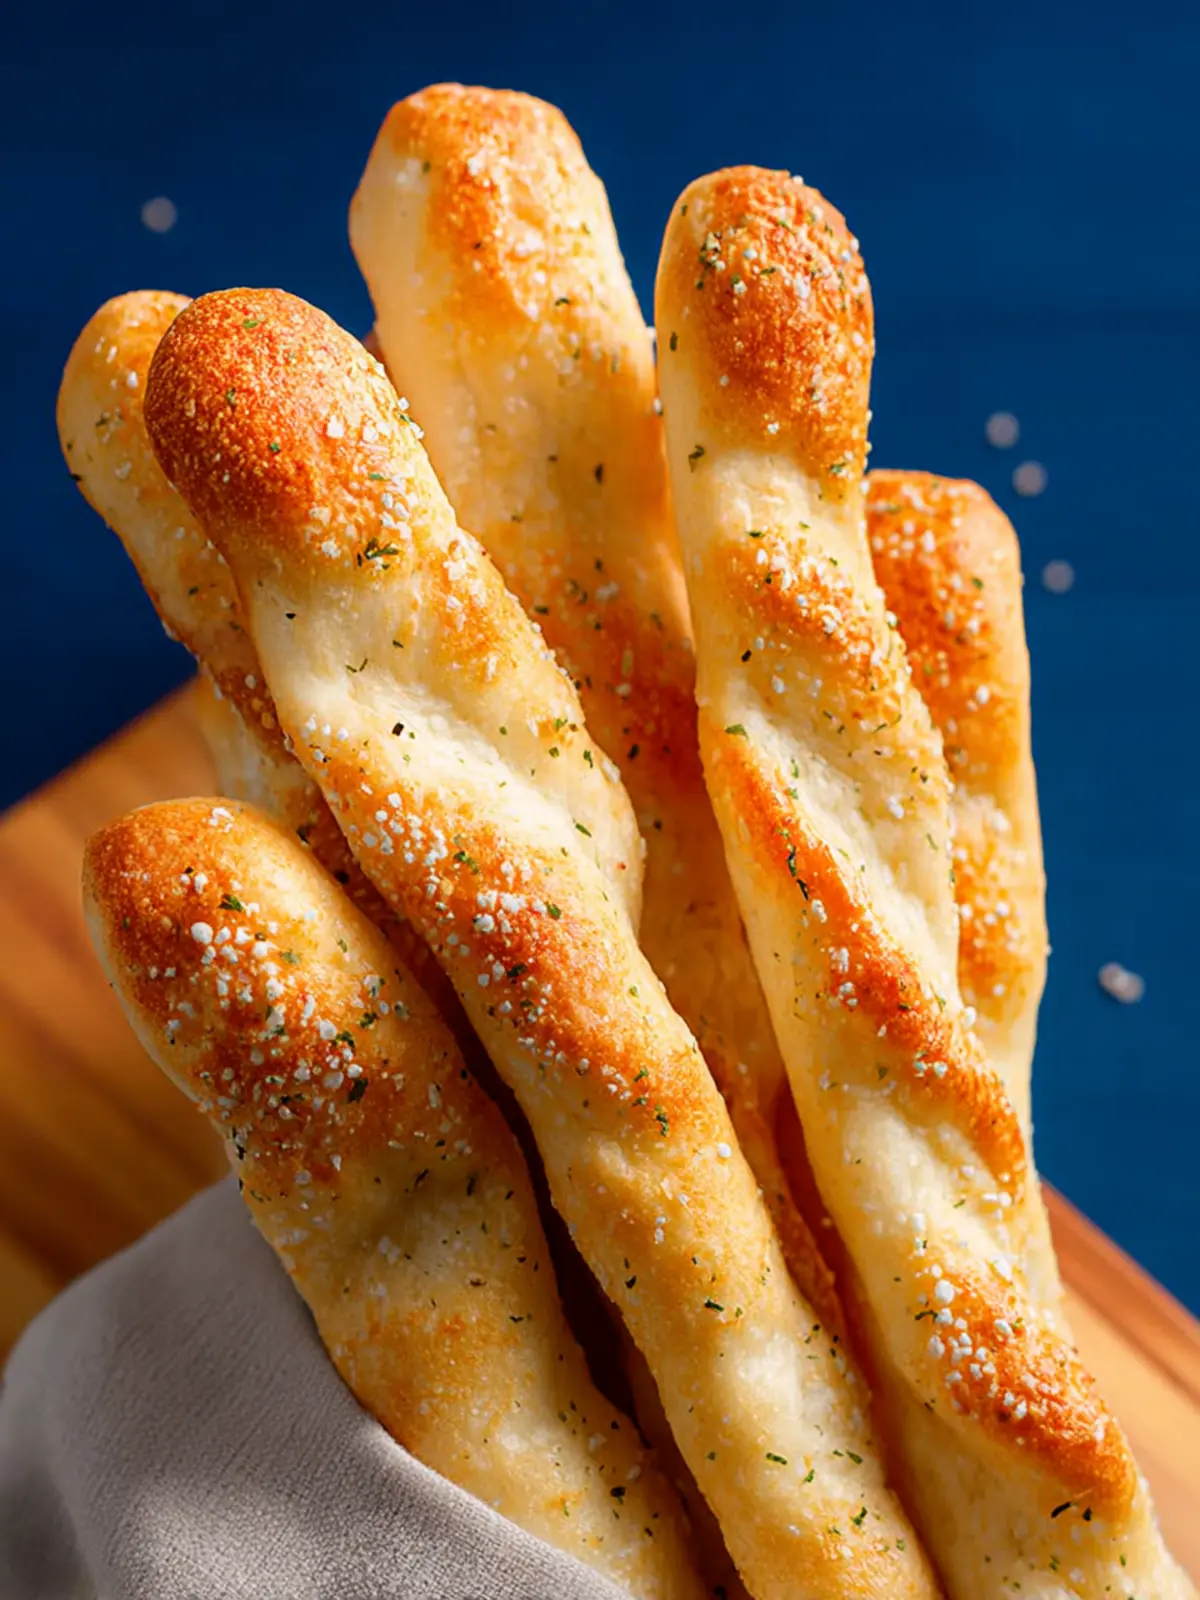
Homemade breadsticks bring a wholesome, comforting vibe to any meal, especially when they emerge warm from the oven, filling your kitchen with an irresistible aroma. Imagine gathering around the dinner table, everyone eagerly reaching for that golden, crusty breadstick, each one a perfect blend of soft, chewy delight.
These homemade breadsticks are not just a side dish; they’re an experience. When you make them from scratch, you gain a special appreciation for the art of baking. With a few simple ingredients like flour, yeast, and butter, you’re transforming pantry staples into something extraordinary. The moment you twist the dough into shape, it’s like putting a little piece of yourself into every bite.
What’s more, these breadsticks are incredibly versatile. They make an excellent companion to pasta, soups, or even just your favorite marinara for dipping! You can customize them with toppings like garlic, herbs, or cheese to match your taste.
Best of all, making homemade breadsticks can be a fun weekend project, providing an opportunity to unwind and get creative in the kitchen. Trust me, once you try these, store-bought options will never hold the same allure.
Variations of Homemade Breadsticks
Transforming your homemade breadsticks can turn an everyday side dish into a showstopper. Have you ever thought about experimenting with flavors? It’s easier than you’d think, and the possibilities are nearly endless!
Garlic and Herb Delight
For a savory twist, infuse your dough with minced garlic and a blend of fresh herbs like rosemary and thyme. This adds a fragrant aroma and a burst of flavor that pairs beautifully with marinara sauce or olive oil for dipping.
Cheesy Twists
If you adore cheese, sprinkle shredded mozzarella or Parmesan on top of your breadsticks just before baking. The melted cheese creates a golden crust that not only looks attractive but tastes divine. You can even roll your dough around a cheese stick for cheesy-filled breadsticks.
Sweet Cinnamon Rolls
Taking a break from savory flavors? Brush your dough with melted butter, sprinkle with cinnamon and sugar, and roll them up for a sweet treat. Bake your cinnamon twists until golden brown and drizzle a simple glaze on top for an irresistible dessert twist.
Spicy Pepperoni Version
For a heartier breadstick, incorporate sliced pepperoni into the dough. The spicy, salty flavor makes it perfect for game day or pizza night. Pair with a zesty dipping sauce for an added kick.
Whichever variation you choose, remember that the joy of homemade breadsticks lies in their adaptability. Your creativity can make meal times special. So, gather your ingredients, and let your personality shine!
Cooking Tips and Notes for Homemade Breadsticks
Creating the perfect batch of homemade breadsticks can be a delightful experience, reminiscent of cozy kitchen memories. The aroma of warm bread fills your home, drawing everyone in for a taste. To elevate your baking game, here are some valuable tips and notes that will lead you to breadstick perfection.
Focus on the Dough
-
Knead with Love: When kneading your dough, pay attention to the texture. It should be smooth and elastic. Don’t rush this step; a well-kneaded dough results in fluffier breadsticks.
-
Resting Time: Allow your dough to rise in a warm place until it doubles in size. This resting time is crucial for developing flavor and achieving that delightful lightness.
Flavors and Toppings
-
Experiment with Seasonings: While classic garlic and herb toppings are fantastic, don’t hesitate to explore other flavors. Try adding grated cheese, sesame seeds, or even a sprinkle of Italian seasoning for a twist on traditional breadsticks.
-
Brush Butter Generously: After baking, a brush of melted butter not only adds richness but also enhances flavor. Don’t skimp!
Perfecting the Bake
- Keep an Eye on the Oven: Oven temperatures can vary. Check your breadsticks a couple of minutes before the suggested baking time. You want them golden brown and just crisp on the outside, while staying soft inside.
Mastering homemade breadsticks may take a little practice, but with these tips, you’re well on your way to impressing family and friends with your culinary skills! Happy baking!
Serving Suggestions for Homemade Breadsticks
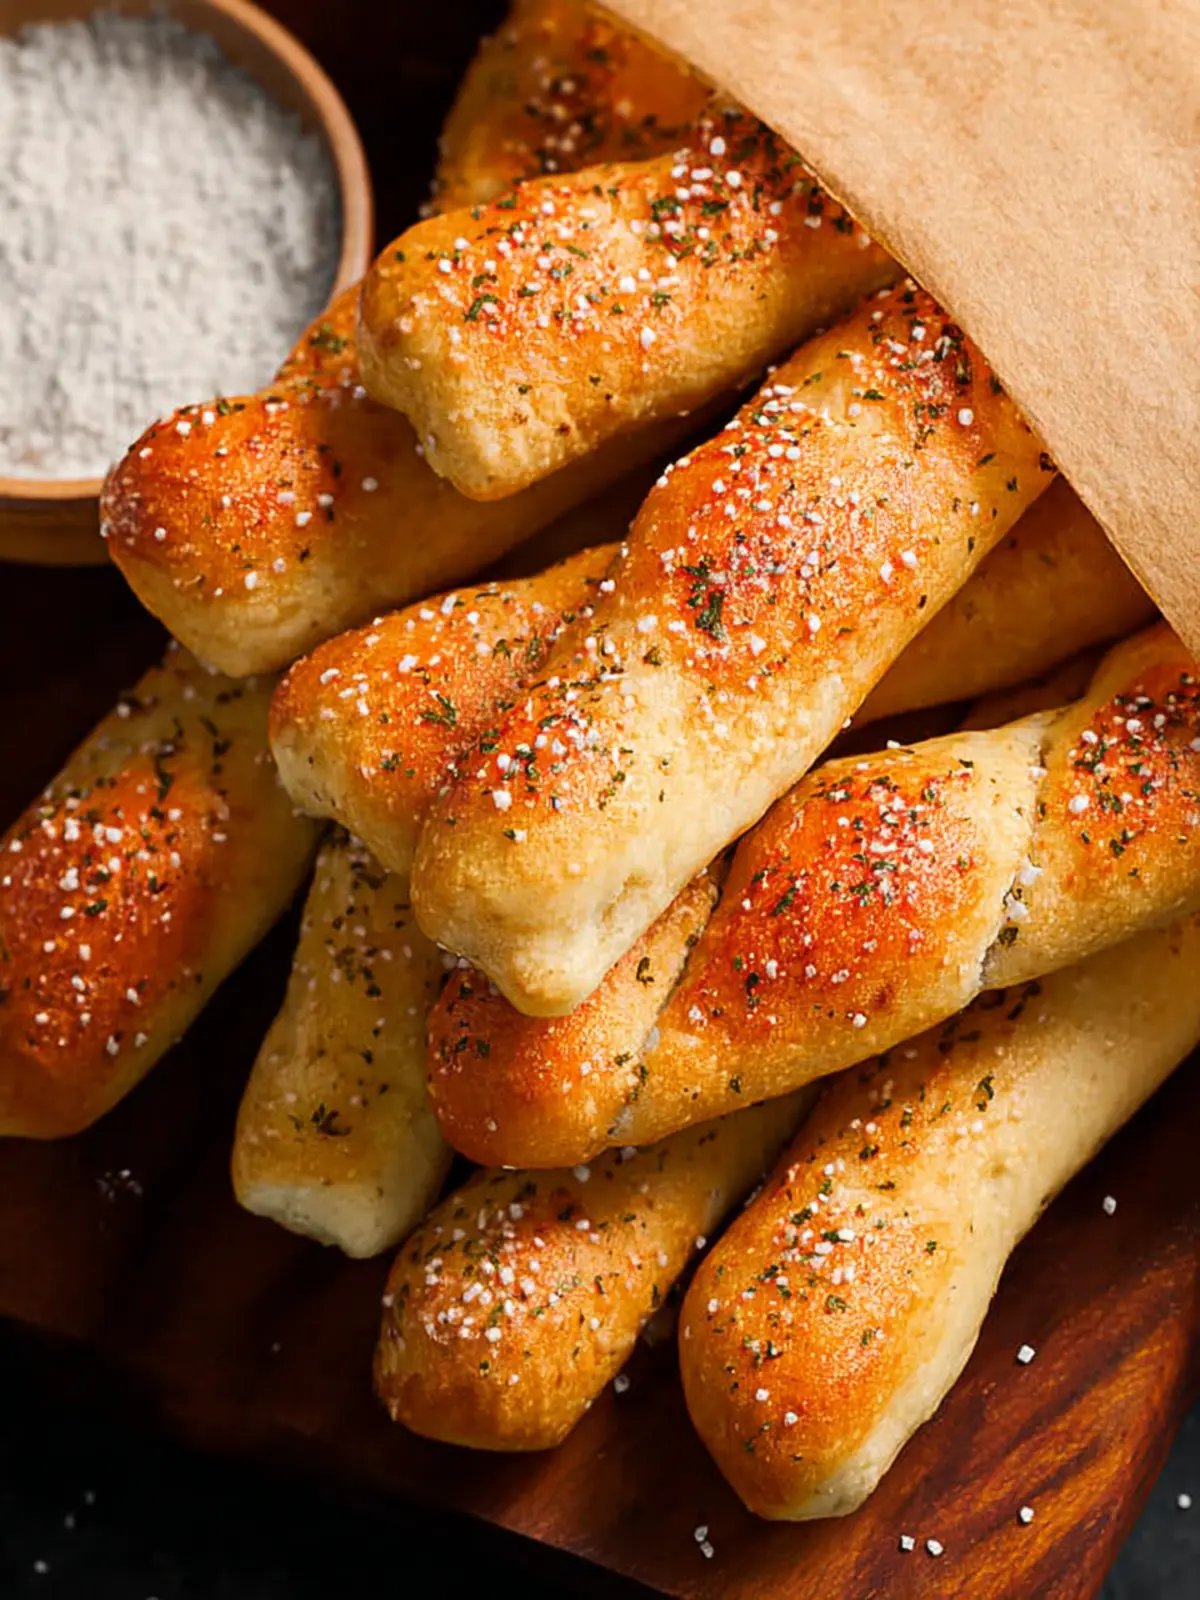
Serving homemade breadsticks doesn’t have to be just a side note; it can be the star of your meal! Picture this: freshly pulled breadsticks, warm from the oven, invitingly golden brown, ready to complement your favorite dishes. Here are a few ideas to elevate your dining experience:
Pairing with Dips
-
Garlic Butter Sauce: Melted garlic butter is a classic, making each bite a savory delight. Use finely chopped parsley for a pop of color.
-
Marinara Sauce: Serve your breadsticks alongside a zesty marinara for a touch of Italian flair. The tanginess perfectly contrasts their softness.
Serving with Salads
-
Mixed Green Salad: Offer breadsticks with a light mixed green salad. Imagine the satisfying crunch of fresh veggies enriched by the fluffy texture of your breadsticks.
-
Caesar Salad: The classic Caesar pairs beautifully, providing a delightful balance of textures—crispy romaine, creamy dressing, and warm breadsticks.
Enjoying with Soups
-
Tomato Basil Soup: The warmth and flavors of homemade breadsticks can elevate a simple tomato basil soup into a cozy, fulfilling meal.
-
Minestrone: A hearty bowl of minestrone is beautifully complemented by your breadsticks, making for a comforting dinner option.
Let your homemade breadsticks be the highlight of any meal, igniting imaginations and satisfying appetites!
Time Breakdown for Homemade Breadsticks
Creating homemade breadsticks isn’t just about the result, but the journey of crafting something delicious from scratch. Planning your time effectively can make the process smoother and more enjoyable.
Preparation Time
Before you dive into the fun, set aside about 10-15 minutes for preparation. This includes gathering your ingredients and mixing your dough to start your homemade breadsticks adventure.
Rising Time
Patience is key! Allow your dough to rise for around 1 hour, giving it time to develop those lovely flavors and textures. It’s like a mini-break for you while the yeast does its magic.
Baking Time
Once your dough has risen, you’ll want to bake the breadsticks for roughly 15-20 minutes. The aroma that fills your kitchen during this time is truly irresistible!
Total Time
In total, expect to spend about 1 hour and 45 minutes from start to finish. This includes all preparation, rising, and baking stages. The reward? Fresh, warm homemade breadsticks that are perfect for sharing (or not!).
Nutritional Facts for Homemade Breadsticks
Creating homemade breadsticks not only fills your kitchen with a delightful aroma but also allows you to savor their nutritional benefits. These little delights are a perfect accompaniment to any meal.
Calories
Each serving of homemade breadsticks contains approximately 150 calories. This makes them a moderate choice, whether you enjoy them as a snack or as a side with your favorite pasta dish.
Carbohydrates
Packed with around 25 grams of carbohydrates, homemade breadsticks offer a quick source of energy. This makes them a great option to fuel your busy day, especially before or after a workout.
Protein
You can expect about 4 grams of protein per serving. While not a primary protein source, they contribute to your overall daily intake, especially when paired with a protein-rich meal.
Enjoy your homemade breadsticks knowing they’re not only delicious but also a wholesome addition to your diet!
FAQs about Homemade Breadsticks
When you embark on the delightful journey of making homemade breadsticks, questions are naturally bound to arise. These irresistible, buttery sticks can elevate any meal, and addressing common queries can make your baking experience even more enjoyable.
Can I use active dry yeast instead of instant yeast?
Absolutely! While instant yeast is renowned for its convenience and faster rise, you can certainly swap it for active dry yeast. Just remember to activate the active dry yeast in warm water before mixing it with your dry ingredients. Let it sit for about 5 to 10 minutes until it becomes foamy. This way, you’ll ensure that your homemade breadsticks rise beautifully!
How can I make the breadsticks garlic-flavored?
If you’re a garlic lover, adding that robust flavor to your homemade breadsticks is simple and scrumptious! Incorporate minced garlic into the dough during mixing for an even distribution of flavor. You can also brush the breadsticks with melted butter combined with garlic powder or fresh minced garlic before baking. For an extra punch, sprinkle some garlic salt on top right after they come out of the oven!
Can I freeze homemade breadsticks?
Yes, you can certainly freeze homemade breadsticks! After baking and fully cooling them, wrap the breadsticks tightly in plastic wrap and then place them in a freezer-safe bag. When you’re ready to enjoy them, just pop them in the oven at 350°F for about 10-15 minutes, and they will regain their delightful texture. It’s a great way to have delicious breadsticks at your fingertips anytime!
Conclusion on Homemade Breadsticks
Embracing the art of making homemade breadsticks can transform any meal into a delightful experience. Picture gathering around the dinner table, sharing warm, buttery breadsticks that are soft on the inside with a perfectly golden crust. Not only do they complement pasta and soups beautifully, but they also make for an irresistible snack on their own.
By following the simple recipe, you’ll uncover the joy of baking and impress friends and family alike. The aroma wafting from the oven will draw everyone in, making those homemade breadsticks a memorable part of your culinary adventures. So, roll up your sleeves, get your ingredients ready, and enjoy this delightful baking journey!
Print
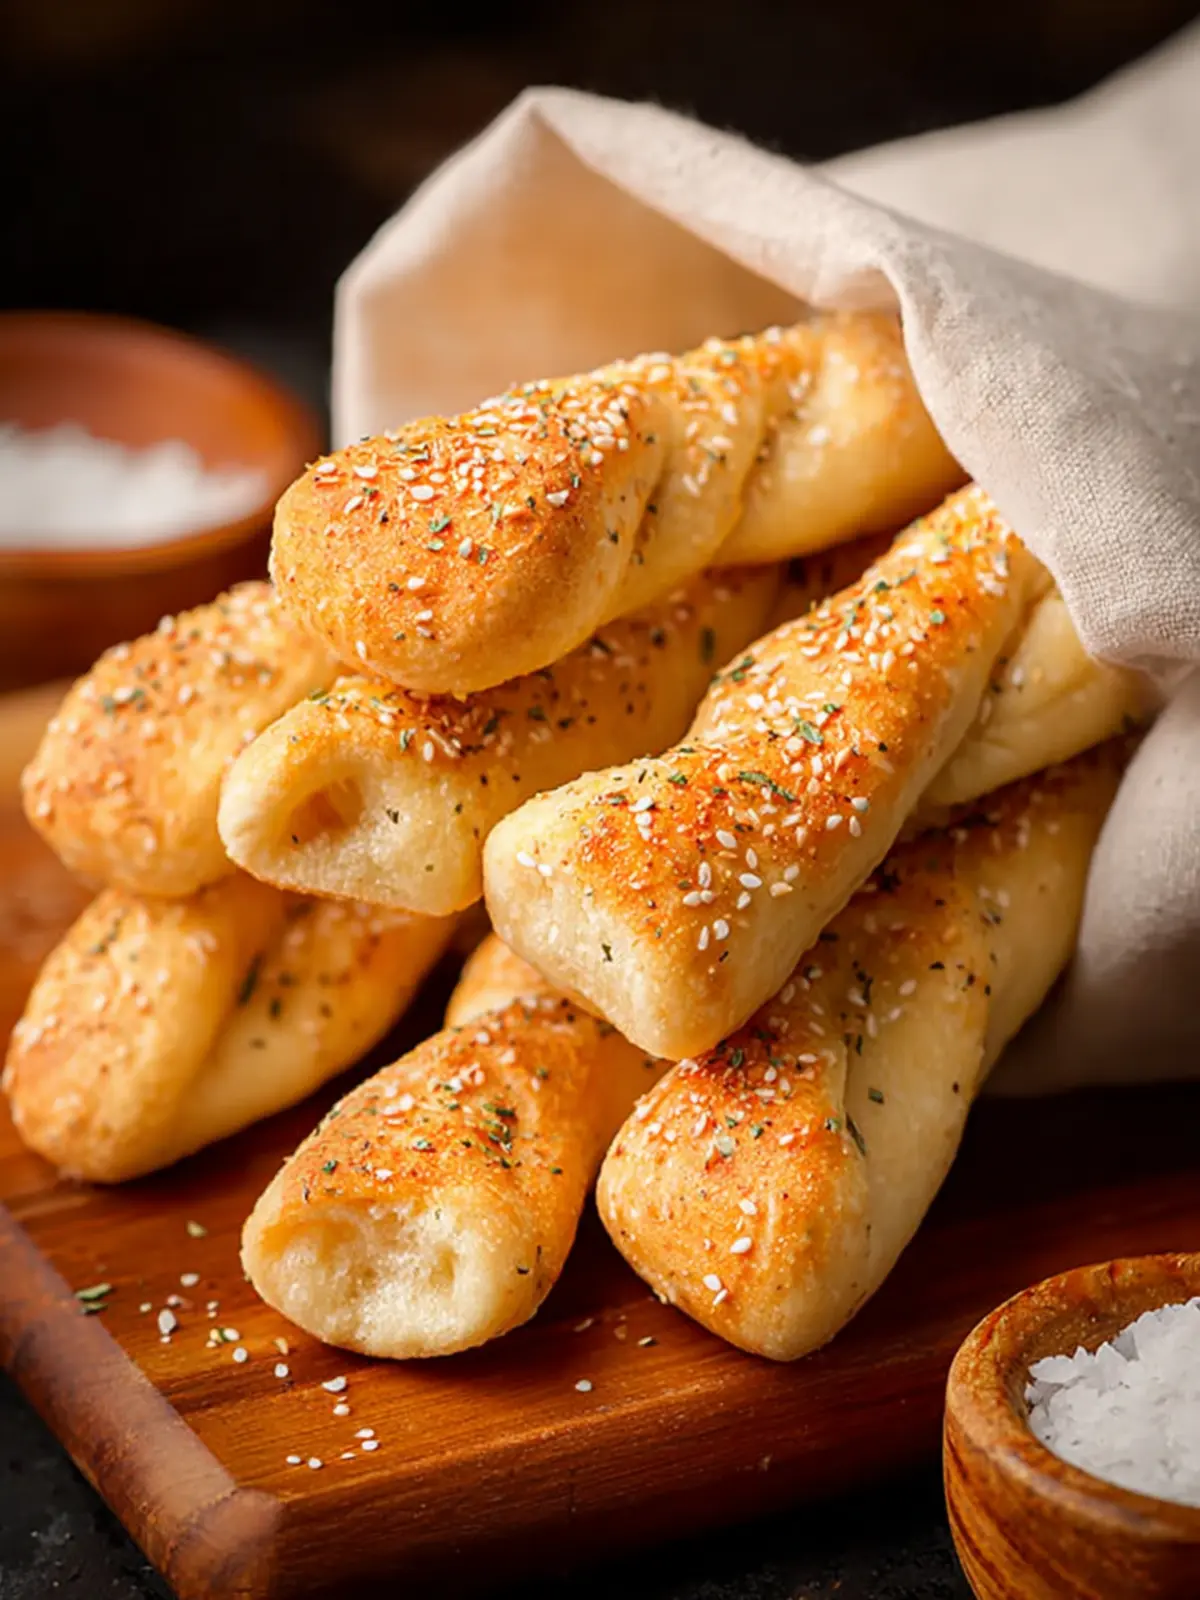
Garlic Breadsticks
- Total Time: 1 hour 31 minutes
- Yield: 12 breadsticks 1x
- Diet: Vegetarian
Description
Delicious garlic breadsticks that are soft and buttery, perfect for any meal.
Ingredients
Scale
- 1 ¼ cups warm water (not hot)
- 2 ½ tsp instant yeast
- 2 Tbsp brown sugar
- 1 tsp salt
- 3–4 cups all-purpose flour
- 4 Tbsp salted butter (melted, divided)
- 1 tsp garlic salt
Instructions
- In a stand mixer fitted with a dough hook attachment add the water, yeast, brown sugar, salt, and 1 ½ cups of the flour.
- Knead the dough on a low speed until all the flour is incorporated. Add more flour, ½ cup at a time until the dough clears the sides of the bowl.
- Once the dough has enough flour, knead for 3-4 more minutes.
- Remove the dough to your hand for a second while you grease the bowl with cooking spray.
- Return the dough to the bowl, cover with plastic wrap and let rise until nearly doubled in size, about 1 hour.
- Line a rimmed baking sheet with parchment paper and preheat the oven to 400°F. Spread 2 tablespoons of the melted butter over the top of the parchment paper.
- Once the dough has risen, lightly grease a counter and tip the dough onto it. Roll or pat the dough into a roughly 16-inch x 8-inch rectangle.
- Cut the dough using a pizza cutter into 1-inch strips. Twist each dough strip a few times and place on the baking sheet.
- Use a pastry brush to brush the remaining 2 tablespoons of butter over the breadsticks and sprinkle with garlic salt.
- Let the breadsticks rise for 20 minutes before baking.
- Bake for about 14-16 minutes until the breadsticks are golden brown on top.
- Remove from oven and enjoy hot.
Notes
- For the instant yeast, ensure it is fresh for the best rise.
- Adjust the amount of flour based on the dough consistency.
- Prep Time: 15 minutes
- Cook Time: 16 minutes
- Category: Appetizer
- Method: Baking
- Cuisine: Italian
Nutrition
- Serving Size: 1 breadstick
- Calories: 150
- Sugar: 1g
- Sodium: 200mg
- Fat: 7g
- Saturated Fat: 4g
- Unsaturated Fat: 2g
- Trans Fat: 0g
- Carbohydrates: 20g
- Fiber: 1g
- Protein: 3g
- Cholesterol: 15mg